Blog
Painting a room or piece of furniture yourself is a fun and cost-effective way to give your home a fresh look. Whether you're updating a wall, repainting cabinets, or working on a DIY décor project, these tips will help you achieve professional-looking results without the professional price tag.
1. Plan Ahead
Before you start painting, take a few minutes to plan your project:
- Choose your colors and finishes. Consider whether you want a matte, eggshell, satin, or gloss finish.
- Get inspiration! Browse online, look at paint samples, or check out fabric swatches.
- Figure out how much paint you'll need. A gallon typically covers 350-400 square feet, but it's always a good idea to check the label for more details.
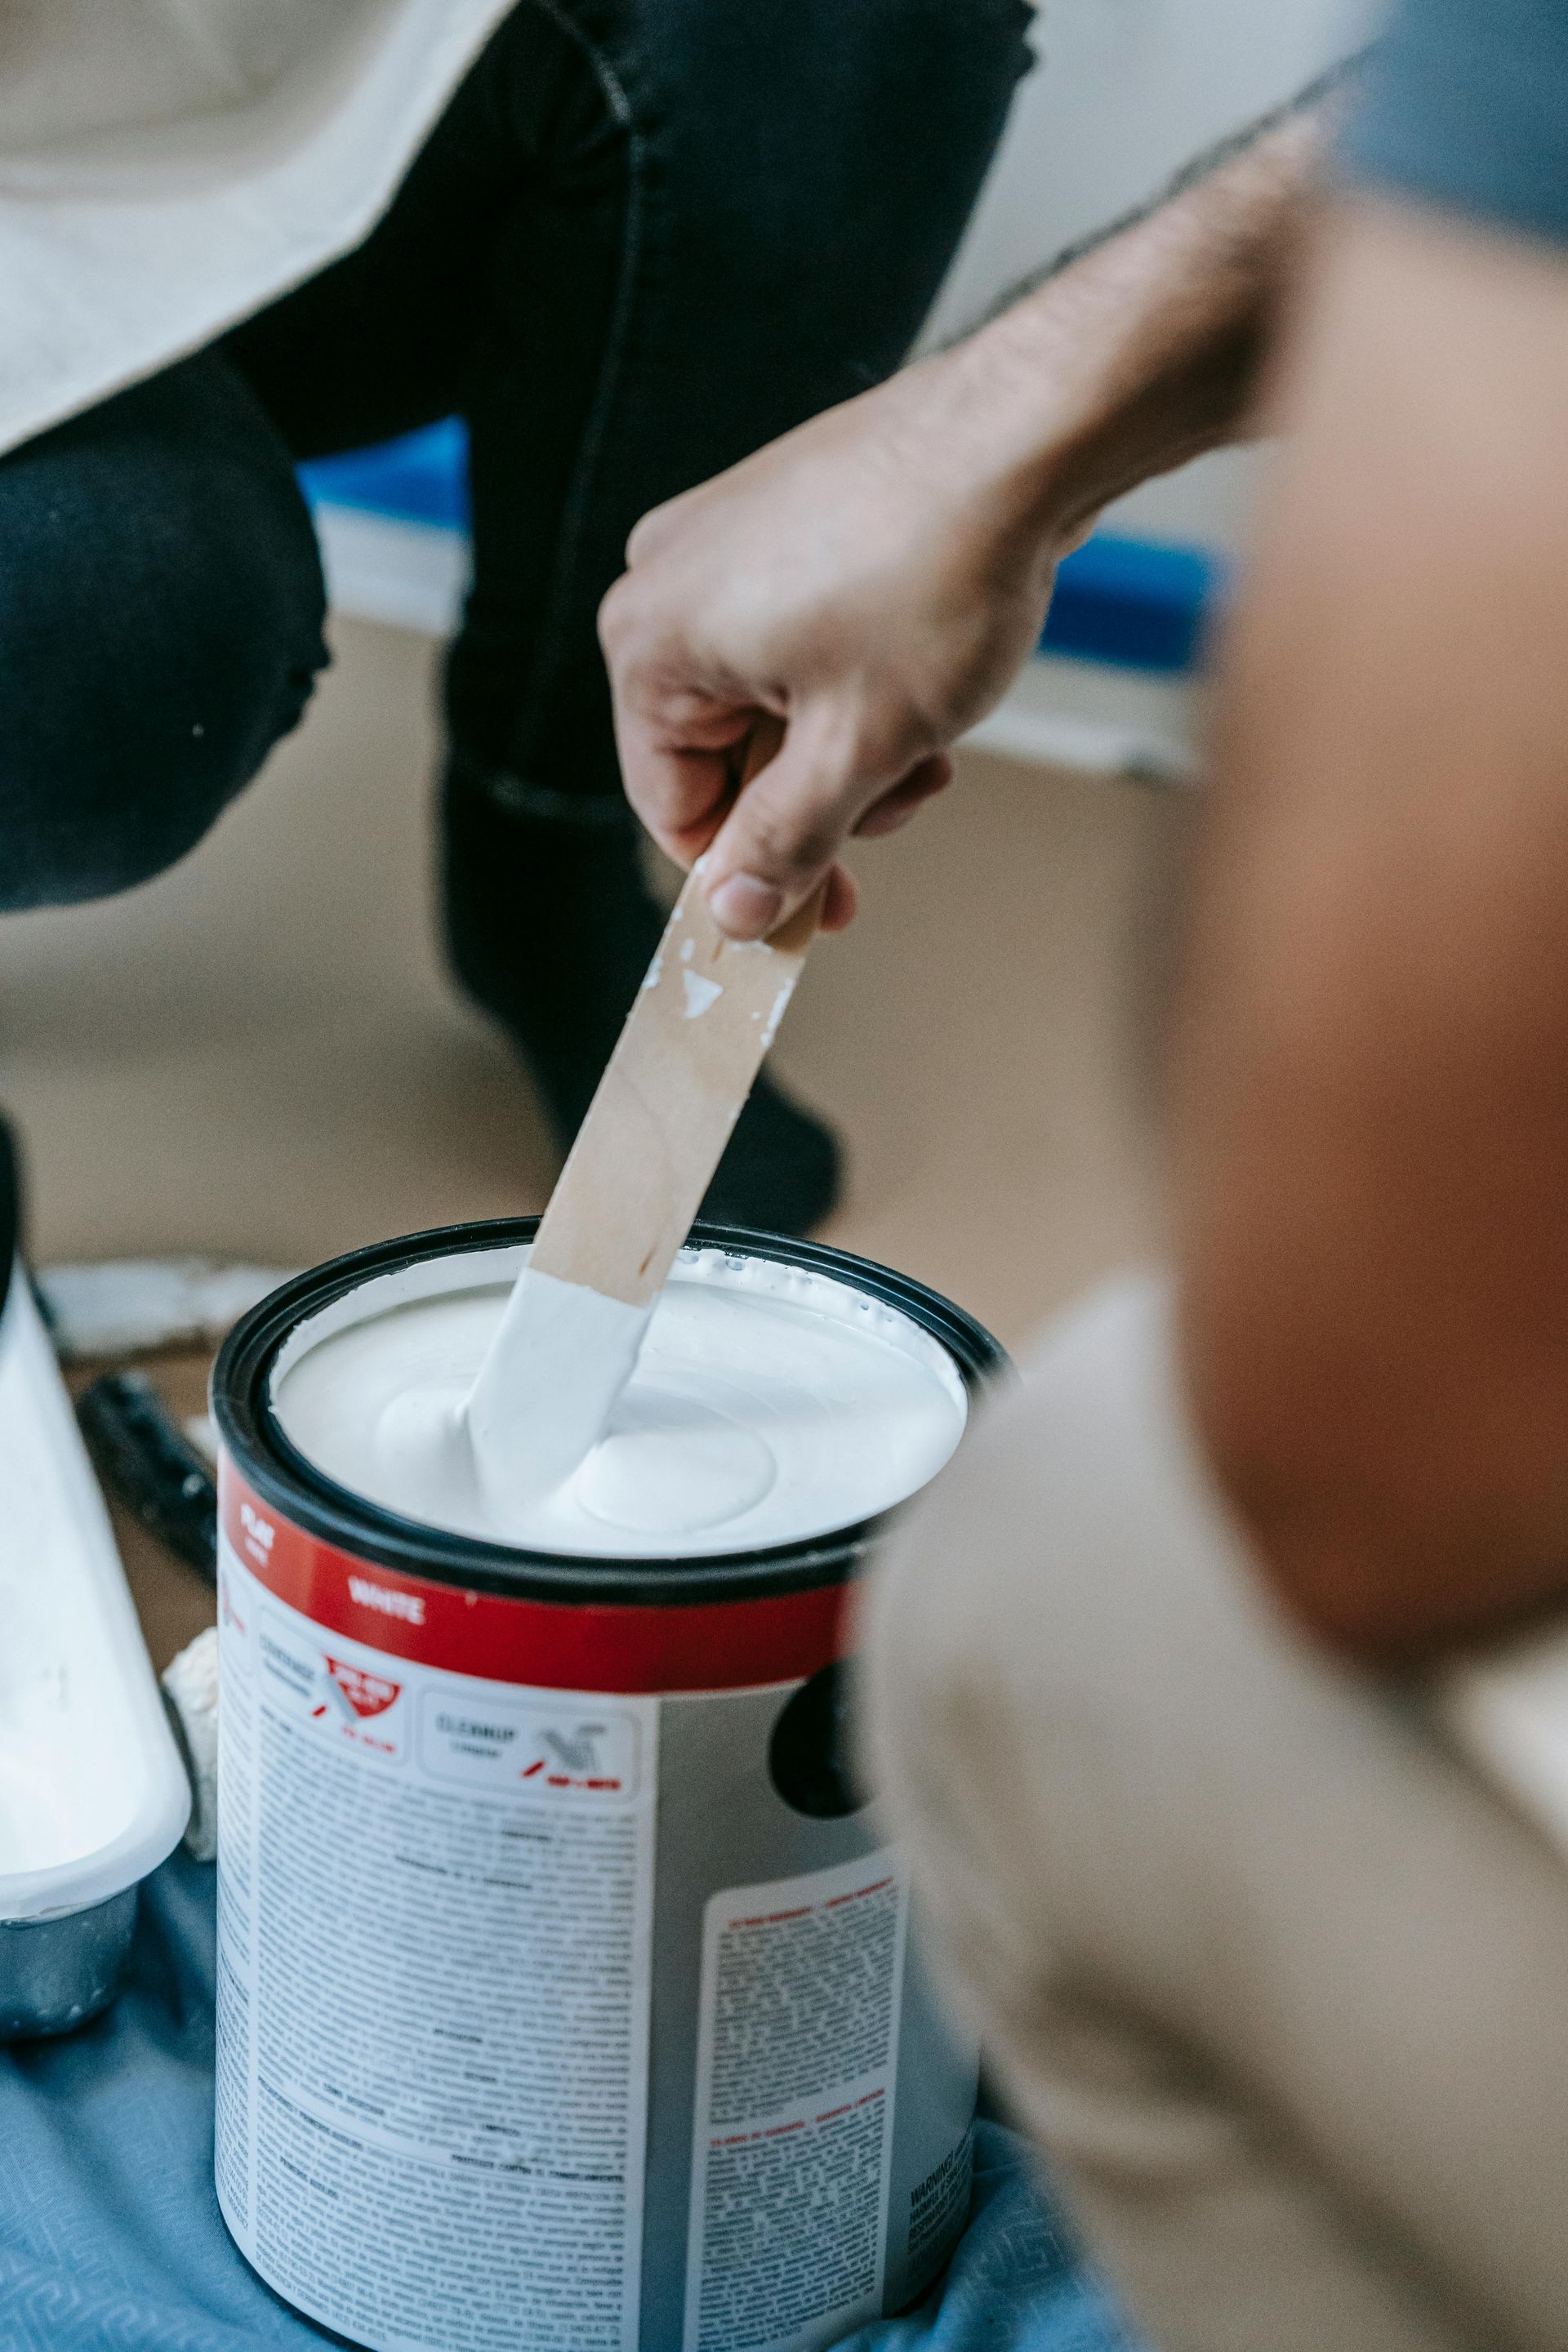
2. Gather Your Tools
Having the right tools can make a big difference in the final outcome. Here’s what you'll need:
Paint (make sure to choose the right type for your project)
- Brushes (both angled and flat) and rollers
- Painter’s tape for clean edges
- Drop cloths or old sheets to protect your floors and furniture
- Sandpaper for smoothing surfaces
- A paint tray with a liner
- A ladder or step stool to reach high spots
- Spackle and a putty knife for fixing holes
- Clean rags or microfiber cloths
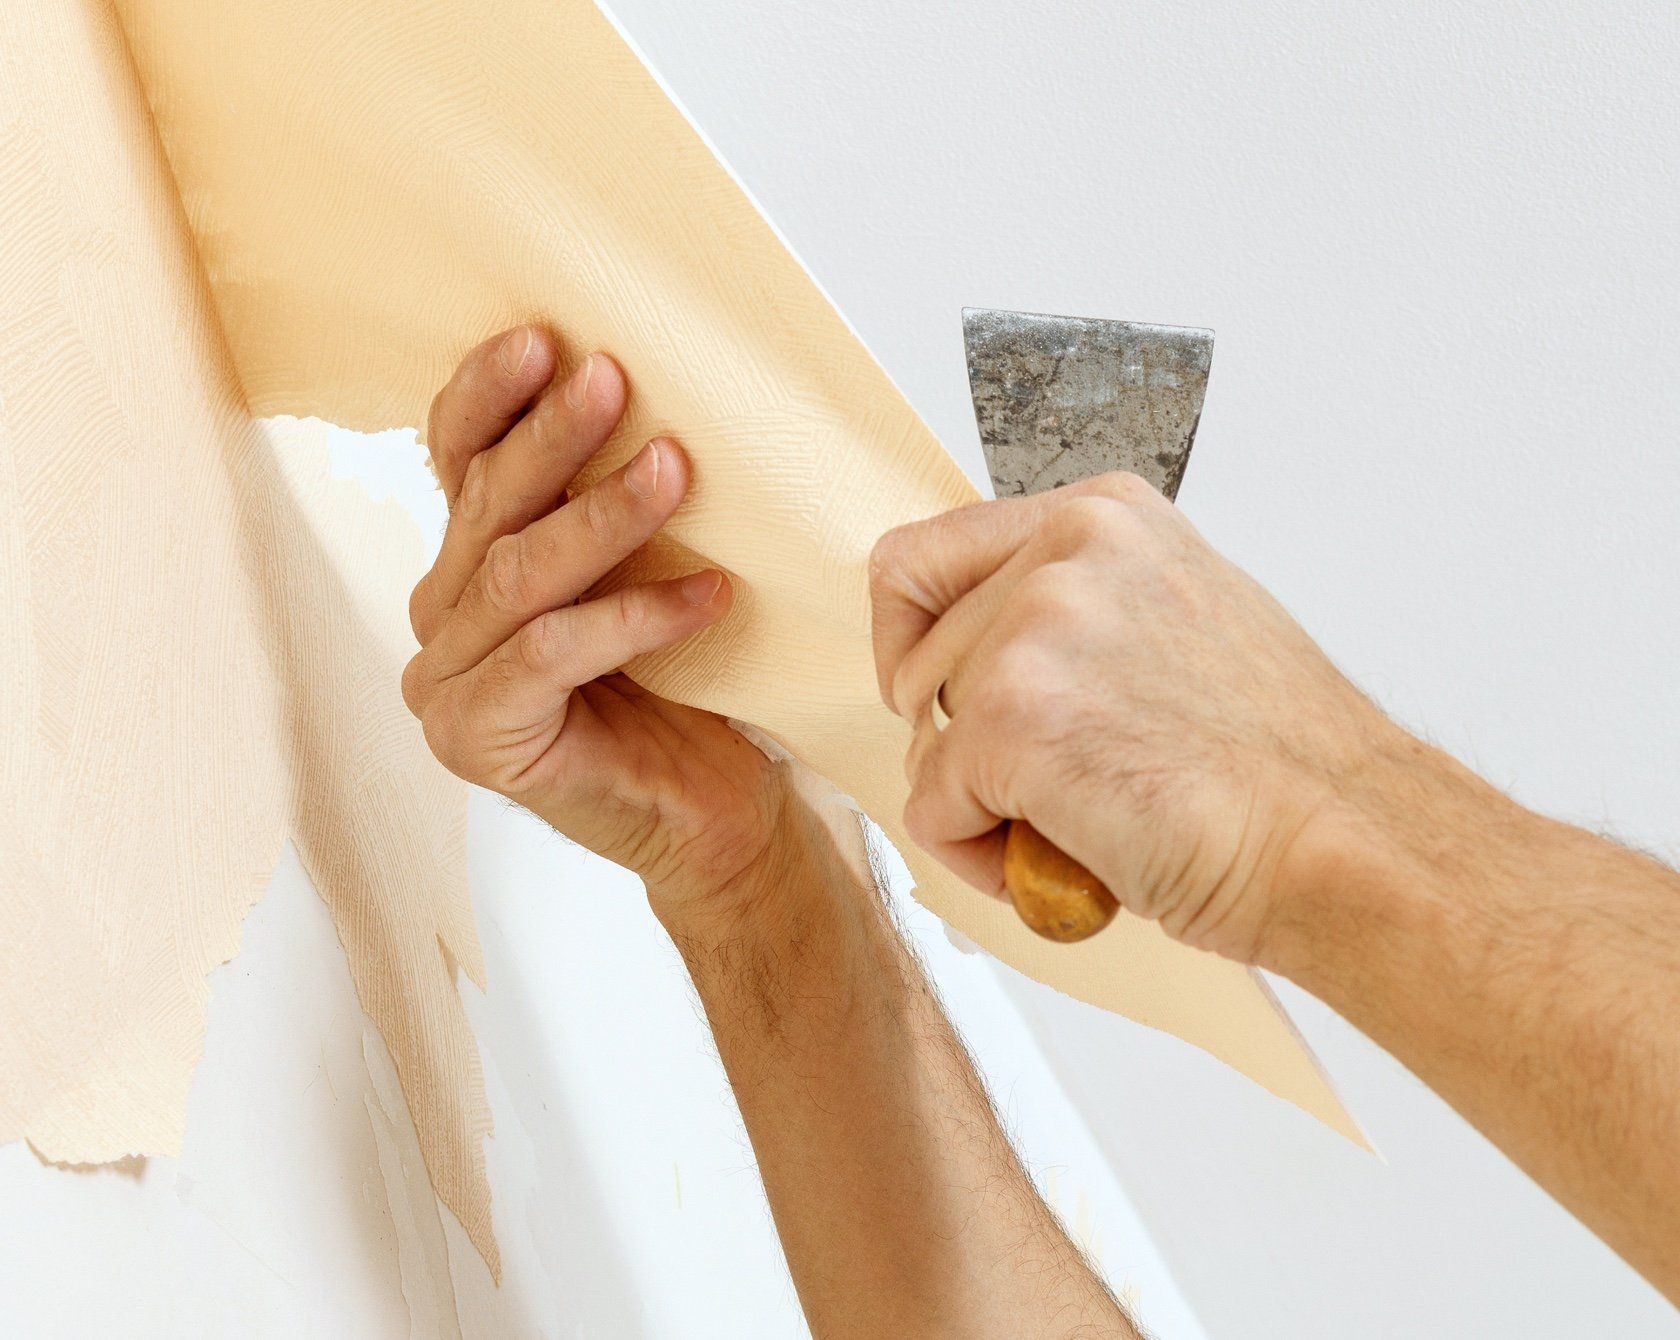
3. Prep Your Space
Proper prep work is key to a smooth, long-lasting finish. Here’s what to do:
- Move Furniture: Move furniture out of the way or cover it with a drop cloth.
- Clean the Walls: Dust and grime can prevent paint from sticking, so wipe down your walls with a damp cloth.
- Fix Imperfections: Use spackle or putty to fill in holes and cracks, then sand the area smooth once it’s dry.
- Tape Edges: Tape along trim, ceilings, and any areas you want to protect from getting paint on them. Press the tape down firmly for crisp lines.
- Prime: If you’re covering dark colors, stains, or shiny surfaces, applying primer will help your paint go on evenly and stick better.
4. Choose the Right Paint
Selecting the right paint is essential for a lasting finish:
- Walls: For living rooms and bedrooms, matte or eggshell finishes work well. For kitchens and bathrooms, where durability matters, go for satin or semi-gloss.
- Furniture and Cabinets: Use enamel or chalk paint for a smooth, durable finish.
- Exterior Surfaces: Make sure to choose weather-resistant paint designed for outdoor use.
5. Perfect Your Cutting-In
“Cutting-in” is the technique of painting edges and corners before tackling the larger surfaces. Here’s how to do it:
- Use a high-quality angled brush for control.
- Lightly dip the brush in paint, wiping off any excess to avoid drips.
- Paint steady, smooth lines along edges and trim to keep your lines crisp and clean.
- Don’t rush—this step is crucial for making the rest of the job easier.
6. Rolling Like a Pro
Once your edges are cut in, it’s time to roll the larger areas:
- Load your roller with paint, but be careful not to overload it. Roll off the excess paint in the tray.
- Start painting in a “W” or “M” pattern and fill in the gaps. This helps to avoid streaks and ensures even coverage.
- Work in sections to keep a “wet edge,” which prevents lap marks (those ugly streaks where dry paint meets fresh paint).
7. Respect Drying Time
Rushing through the process can lead to mistakes, so make sure to allow enough drying time:
- Let each coat dry fully before applying the next. Most paints need 2-4 hours, but always check the instructions on your paint can.
- Ensure good ventilation by opening windows or using fans—this speeds up the drying process and reduces paint fumes.
8. Avoid Common Mistakes
DIY painting can be tricky if you don’t watch out for a few common errors:
- Skipping the primer: This can lead to uneven coverage, poor adhesion, and peeling later on.
- Overloading your brush or roller: It results in drips and streaks that are hard to fix.
- Rushing the job: If you’re painting too fast, you might miss spots or leave roller marks.
- Not prepping properly: If you don’t clean the surface or fix imperfections, the paint won’t go on smoothly.
9. Get Creative with Finishes
Once you’ve mastered the basics, why not try some fun techniques?
- Accent Walls: A bold color on one wall can completely change the feel of a room.
- Ombre Effect: Blend two or more colors for a soft, gradient look.
- Textured Paint: Use a sponge or specialty roller for a unique, textured finish.
- Stencils: Add patterns or designs to walls, furniture, or even floors for a personalized touch.
10. Clean Up Properly
Cleaning up is just as important as the painting process itself:
- Brushes and Rollers: If you used water-based paint, wash them with soap and warm water. For oil-based paints, use paint thinner or mineral spirits.
- Painter’s Tape: Pull it off while the paint is still slightly wet to avoid peeling the paint underneath.
- Leftover Paint: Seal paint cans tightly and store them in a cool, dry place for future touch-ups.
11. Stay Safe
Make sure you take a few safety precautions while painting:
- Ventilate the room by opening windows and using fans to keep the air fresh.
- Wear a mask if you’re working with oil-based paints or sanding surfaces.
- Always use a sturdy ladder, and don’t stretch too far—use an extension pole instead.
12. Upgrade Your Tools
If you’re planning on doing more DIY painting projects in the future, consider investing in some additional tools:
- Paint Sprayer: Perfect for larger areas or furniture, giving a smooth, even finish.
- Extension Pole: Helps you reach higher walls or ceilings without a ladder.
- Edge Painting Tools: These can help you get clean lines without needing painter’s tape.
13. Try Small Projects First
You don’t need to paint an entire room to make a big impact. Small projects can be just as effective:
- Try painting trim, baseboards, or door frames for a fresh look.
- Refresh a piece of furniture, like a table or chair, with a new coat of paint.
- Add a pop of color inside your cabinets or bookshelves for something unexpected.
14. Enjoy the Process
Most importantly, enjoy the process! Painting is a fun and creative way to transform a space:
- Put on some music or listen to a podcast to make it enjoyable.
- Don’t stress over minor mistakes—they’re easy to fix, and you’ll be proud of the finished result.
- Step back and admire your work—it’s your space, and you’ve made it better!
Conclusion
With the right preparation and a little patience, you can tackle any DIY painting project and achieve great results. Whether you're updating a room or giving an old piece of furniture a new lease on life, these tips will help you create something you’re proud of. So grab your paintbrush, and get started—you've got this!
Choosing the right ceiling paint
Techniques on how to paint trim.

Common issues people run into with painting in the winter.
