Blog
The Tricky Winter Months
Painting during the winter months presents a unique set of challenges, even for those with plenty of DIY experience. Cold temperatures, reduced daylight, and unpredictable weather can all interfere with the application and drying of paint. Understanding these common issues and how to address them can help you get great results, even in the colder months.
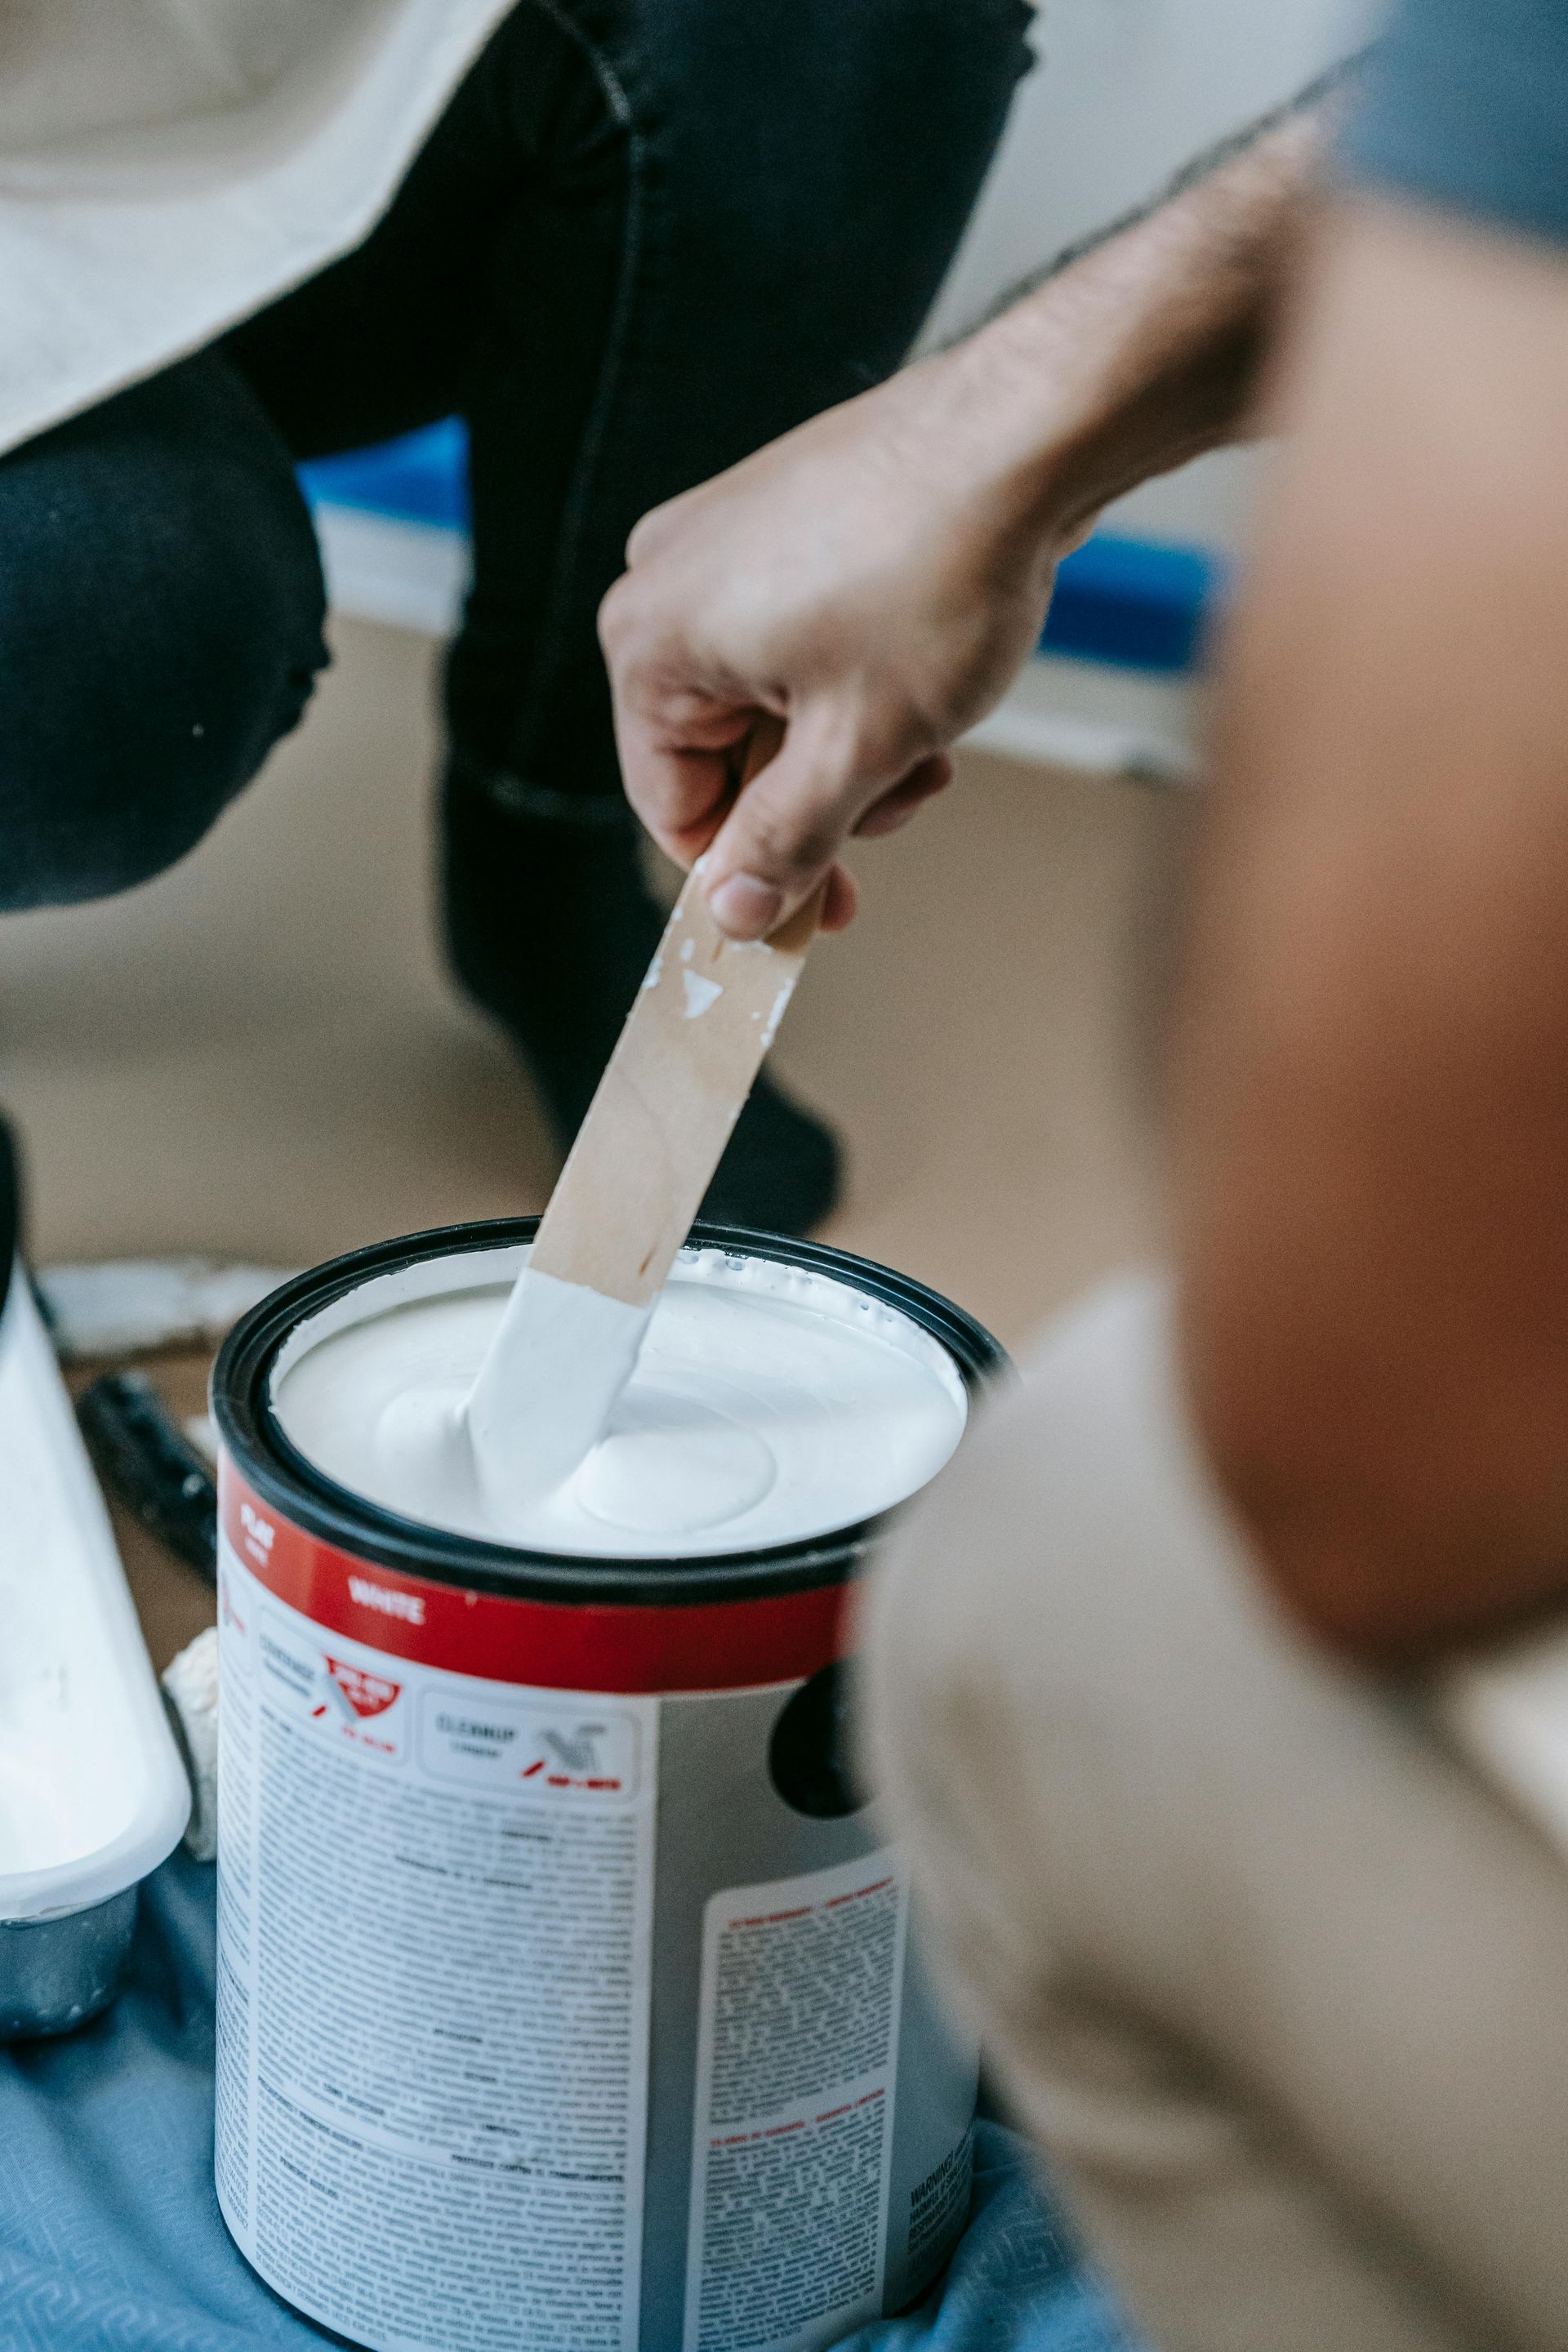
A major issue when painting in winter is the temperature. Most paints, particularly oil-based varieties, require specific temperature ranges to dry and cure correctly. When it’s too cold, the paint may not dry properly, which leads to an uneven finish. It can stay tacky for far too long or remain wet for days, potentially resulting in smudging, fingerprints, or dust sticking to the surface. Typically, the ideal temperature for painting is between 50°F and 85°F (10°C and 29°C). If the temperature drops below this range, paint can’t dry as it should, which may cause it to peel or crack earlier than expected.
In colder temperatures, the paint itself can become thicker and harder to apply. Water-based paints, in particular, may become goopy, making them difficult to spread evenly. Furthermore, if the temperature gets low enough, the paint can freeze, which alters its consistency and color, preventing it from being applied or drying as intended. To avoid this, always check the temperature recommendations on your paint can and ensure your workspace is warm enough to allow the paint to apply smoothly.
Humidity is another factor to consider in winter. While cold air tends to be drier, indoor humidity can rise due to things like snow melting or heating systems running. High humidity can delay the drying process and prevent the paint from adhering properly to surfaces, causing uneven coverage or bubbles. In some cases, paint may crack or peel once dry. To reduce the impact of humidity, ensure proper ventilation and consider using a dehumidifier or space heater to maintain the right conditions for drying.
Reduced daylight during winter is another challenge, especially when you’re trying to complete a painting project within a short timeframe. With shorter days and cloudy weather, you might find it harder to spot mistakes or imperfections in your work, particularly with darker or glossy paints. It’s essential to use artificial lighting that mimics natural light to help you see clearly. LED lights can provide the best brightness and clarity, ensuring you don’t miss spots or create uneven strokes. Try to schedule your painting during the day for optimal lighting or set up a well-lit work area to compensate for dimmer conditions.
Temperature fluctuations between day and night can also pose problems. If the temperature is warm when you start painting but drops later, the paint may not dry or cure consistently, leading to adhesion issues or cracking. To avoid this, try to paint when the weather is stable, usually in the middle of the day, and avoid painting in the evening when temperatures are more likely to drop. If you’re painting outside, check the weather forecast and choose a day when temperatures will stay within the recommended range.
Outdoor painting in winter can be especially tricky because snow, rain, or wind can all impact your work. If you’re painting outside, wet weather can wash away the paint or cause streaking before it has a chance to dry. Excess moisture can also prevent the paint from adhering properly. To avoid these problems, avoid painting on rainy or snowy days and ensure the surfaces are dry before applying paint. If you have to paint outdoors, look for paints formulated for colder temperatures to help them perform better in difficult weather.
Dust and debris are also common issues during winter. Indoor heating systems dry out the air, leading to dust accumulation, and this dust can settle on wet paint, resulting in an uneven finish. This can also affect the paint’s adhesion, causing peeling or cracking over time. To reduce dust buildup, make sure the area is clean before you start painting and try to keep the space as dust-free as possible during the process. Using an air purifier can help remove dust from the air, helping you achieve a smooth, flawless finish.
One less obvious issue with winter painting is the longer curing time. Even if the paint feels dry to the touch, the curing process—when the paint fully hardens—can take longer in cold temperatures. The lower temperatures slow down the chemical reactions that are necessary for the paint to harden properly, so you may need to allow extra time for the paint to cure before using the surfaces. This is especially important if you’re painting furniture or trim, as you’ll want to avoid using these surfaces too soon. Be patient and give the paint additional time to set before applying any pressure or placing objects on the painted surface.
In summary, painting in the winter has its challenges, from low temperatures and fluctuating humidity to shorter days and unpredictable weather. However, with proper planning and preparation, you can still achieve a great finish. Make sure your workspace is warm enough, check the paint’s recommended temperature range, and keep the room well-ventilated. Avoid painting during bad weather, and be patient with the drying and curing processes. With a little extra care, you can enjoy a successful painting project even during the colder months.
Choosing the right ceiling paint
Techniques on how to paint trim.
How to DIY paint like a pro
